Documentation Index
Fetch the complete documentation index at: https://docs.krait.io/llms.txt
Use this file to discover all available pages before exploring further.
Connecting Krait with Jira
This one-time setup for each workspace lets everyone in your Krait organization make issues directly in Jira Cloud.You must be workspace OWNER / ADMINISTRATOR / MANAGER to connect or configure Jira to Krait.
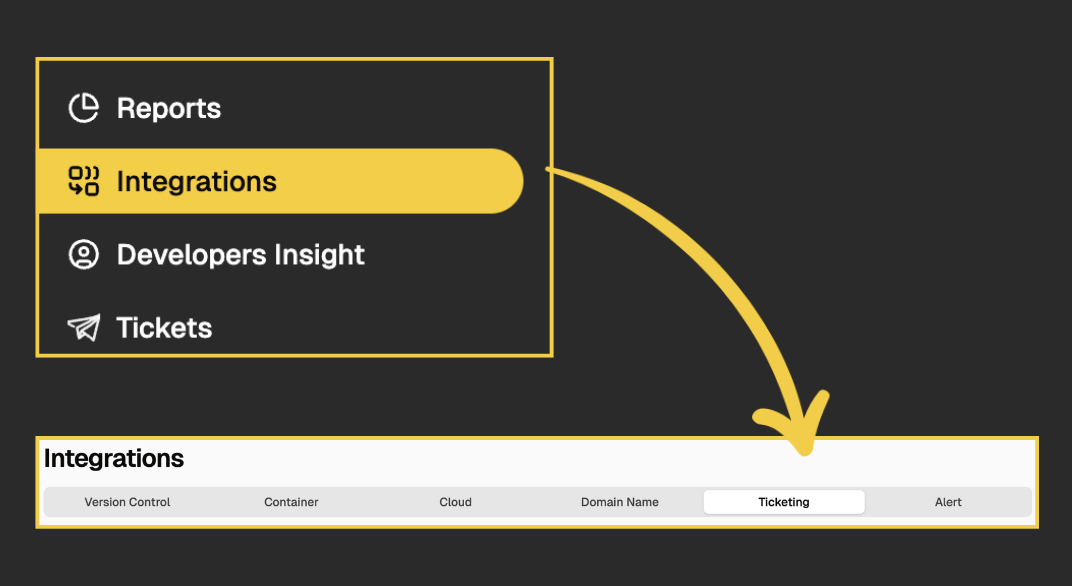
Navigate to Integrations
- Navigate to Krait Integration.
- Go to the Ticketing tab.
- Select the Jira card.
Provide Required Credentials
A integration panel will open on the right.
- Provide the following required Jira connection details:
- Domain: Your organization’s Jira instance URL.
- User Name / Email: The authorized account for API access.
- API Key / Token: A secure access key generated from your Jira account.
- Grant Krait permission to access your Jira workspace.
Configuring Jira to Krait
There are two different options to configure Jira to Krait.Jira Integration - Global Configuration
Global Jira configuration sets the default Jira Project and Issue Type for all new tickets created across the workspace. This ensures a consistent workflow even before team-specific settings are applied.How to Configure Jira Globally
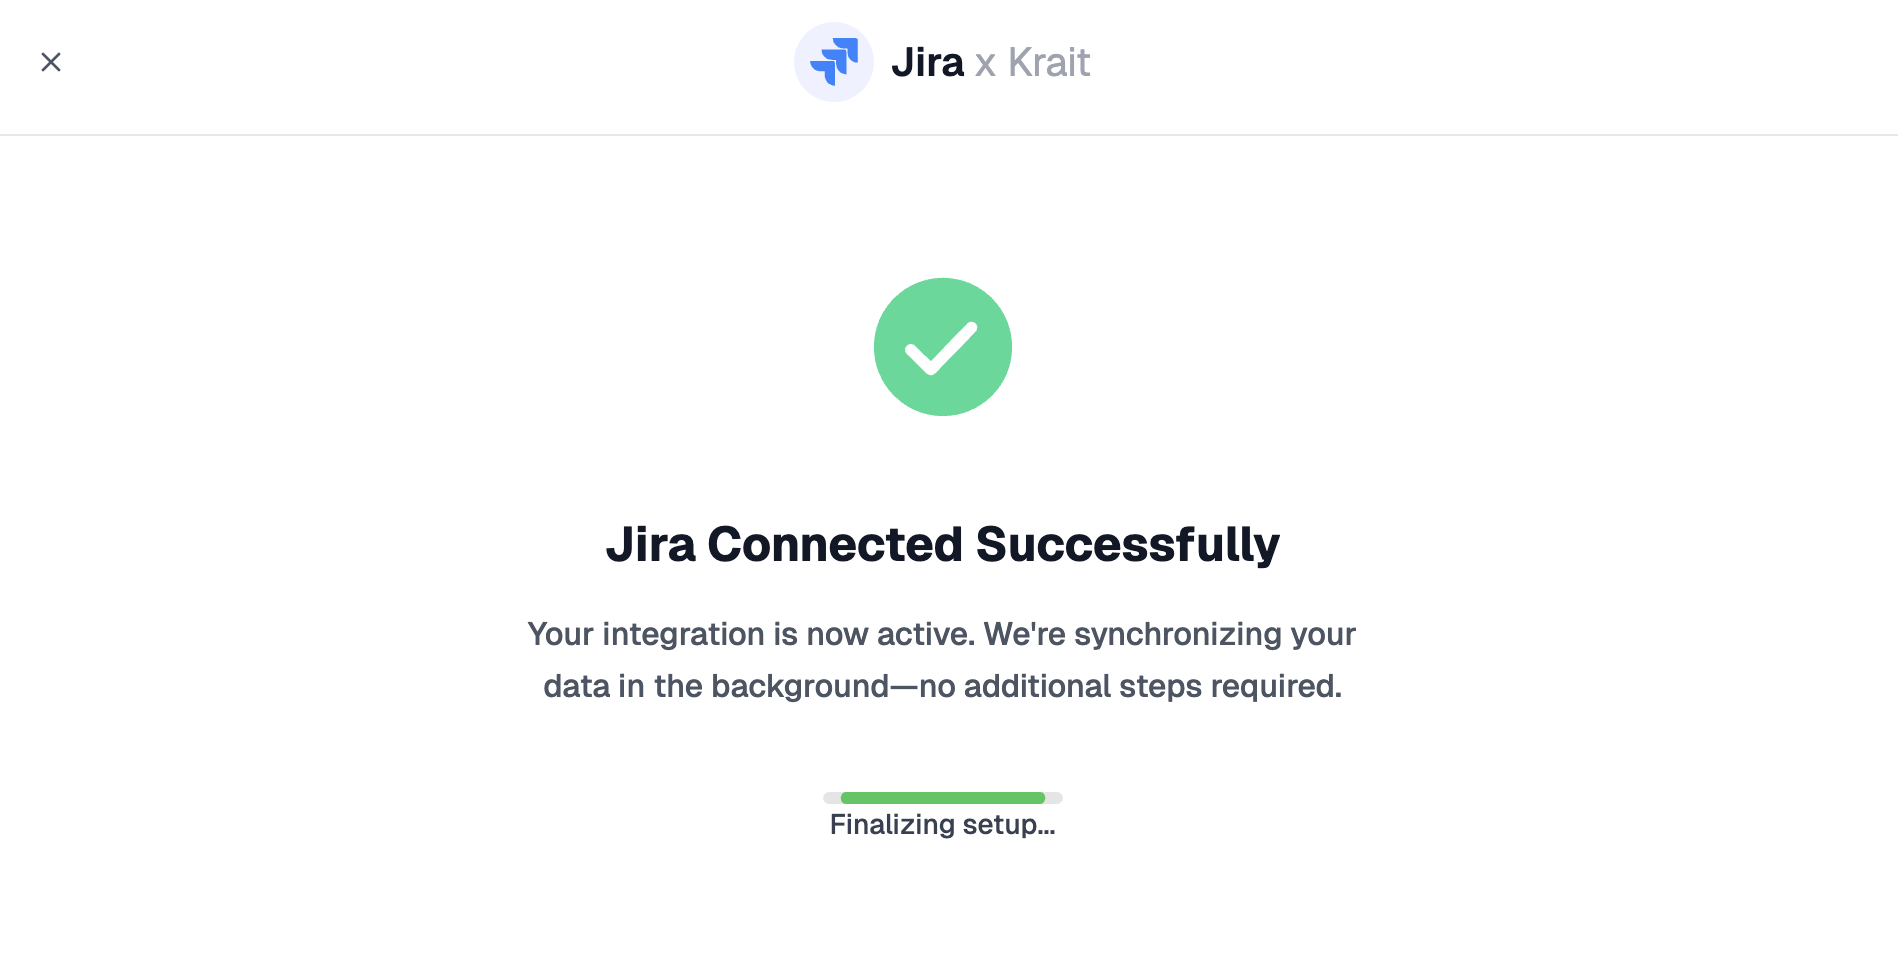
Connect Jira to Krait
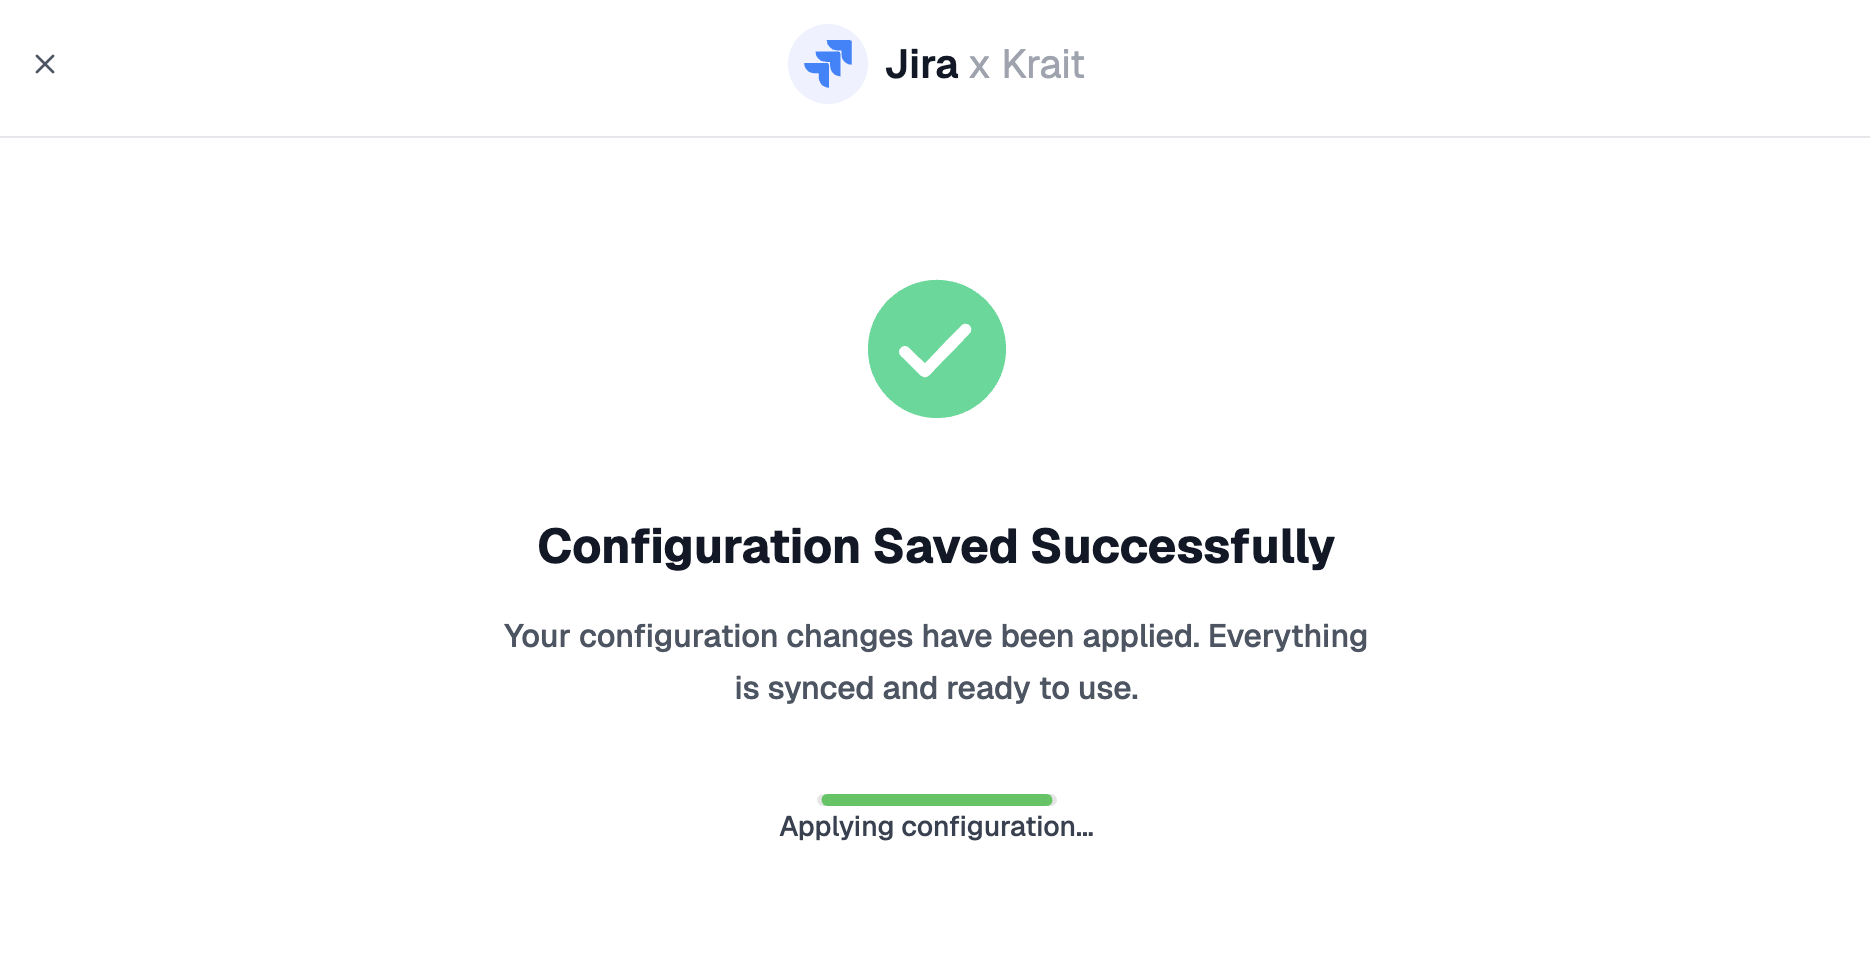
Begin by authorizing Krait to access your Jira workspace. After successful authorization, you will see:
“Jira Connected Successfully - Your integration is now active. We’re synchronizing your data in the background.”This indicates that your Jira metadata (projects, teams) is being pulled into Krait.
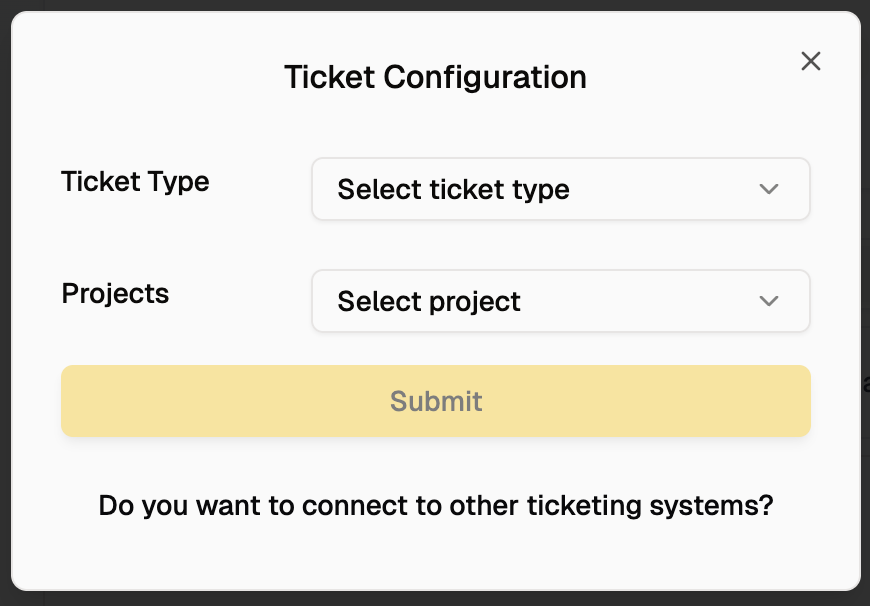
Select Default Project and Team
Choose the Jira Project where Krait should generate new issues by default. Then assign the team responsible for handling vulnerability tickets.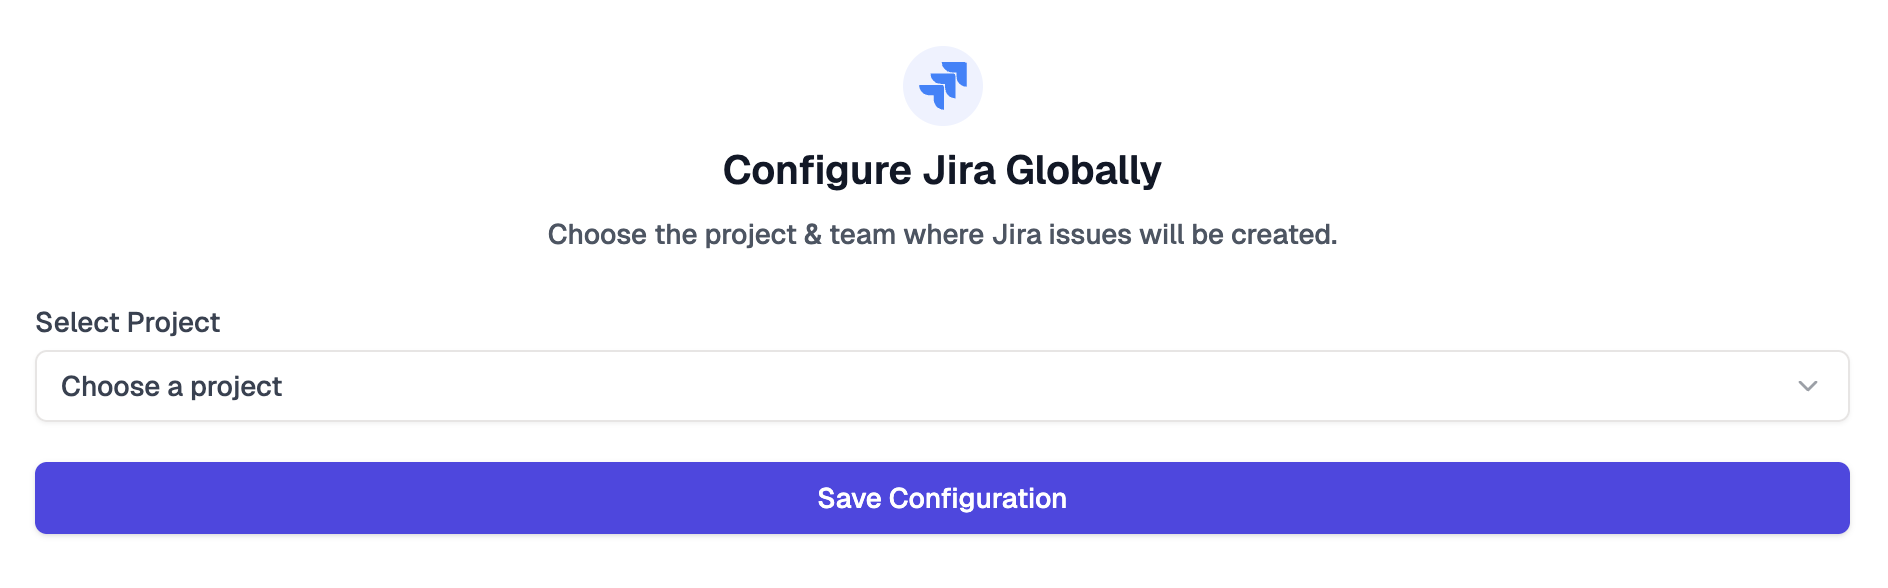
Jira Integration - Per-Resource Configuration
Per-resource Jira configuration allows you to override the global default by defining a project and team specifically for the selected resource (e.g., repository, container, cloud account, API endpoint). This is useful when different engineering teams maintain different components.How to Configure Jira Per-Resource
Open Ticketing Configuration
Navigate to a vulnerability details page and select:
Configure your Ticketing System
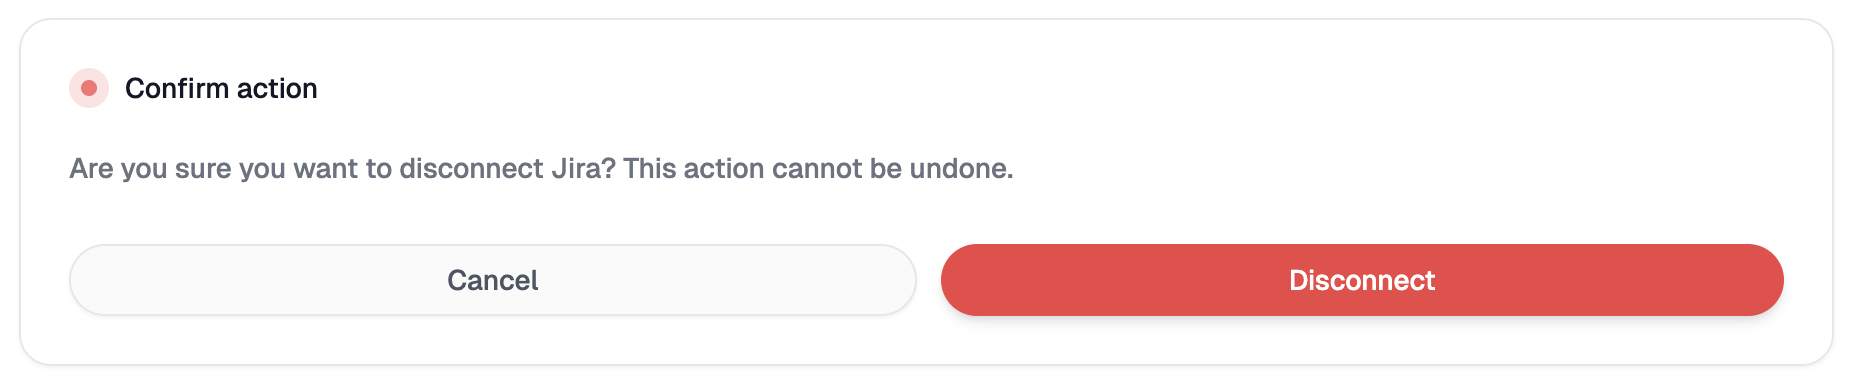
Disconnecting Jira
You can choose to disconnect Jira from Krait anytime you want.